
How to Identify and Repair Common Gutter Leaks
July 17, 2026
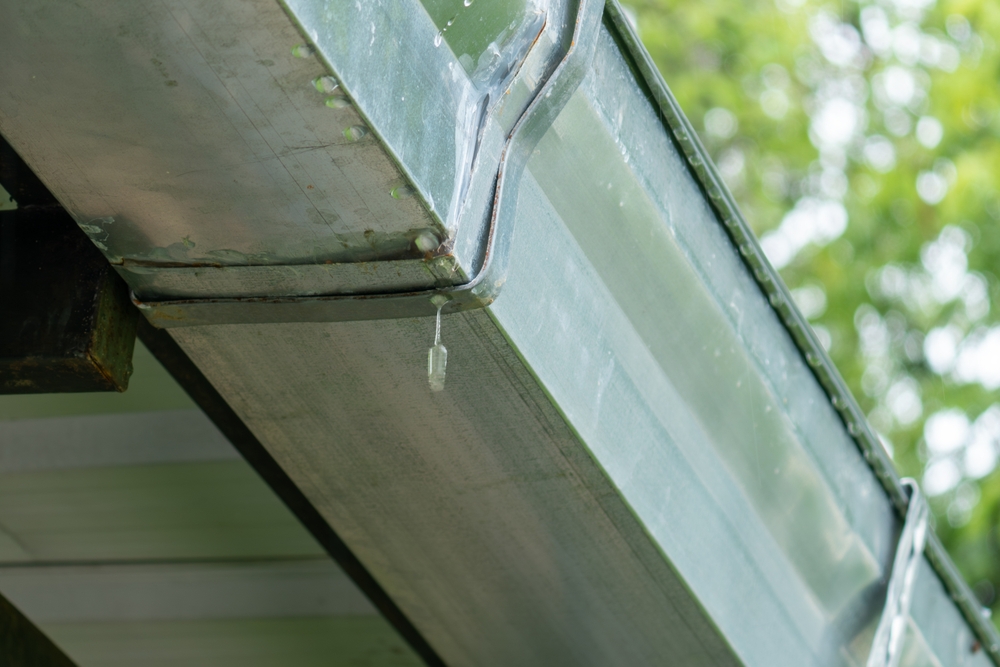
Water dripping from your roofline is more than just an annoying sound, it is a warning sign. When rainwater escapes your drainage system, it pools around your home’s foundation, degrades your exterior siding, and eventually finds its way into your crawlspace or basement.
Ignoring a leaking gutter can quickly lead to expensive structural repairs, compromised landscaping, and hazardous mold growth. Fortunately, identifying and fixing these leaks early is one of the most cost-effective ways to protect your property’s value.
At Kontz Construction, we have spent decades helping homeowners maintain strong, weather-tight exteriors. Whether you want to tackle a DIY fix or need professional backup, this guide will help you spot, diagnose, and seal gutter leaks before they cause major damage.
The True Financial Cost of Ignoring Gutter Leaks
It is easy to put off gutter maintenance, but neglecting your home’s water management system is a gamble. When gutters leak or overflow, rainwater falls directly against your concrete foundation walls instead of being directed safely away.
Over time, this continuous moisture exposure creates immense hydrostatic pressure. This pressure forces water through microscopic pores in your concrete, leading to foundation cracks, damp crawlspaces, and basement flooding.
Beyond structural foundation issues, chronic leaks damage your fascia boards, peel your exterior paint, and erode your carefully planned landscaping. The falling water can also wash away soil, causing adjacent walkways and driveways to crack and sink.
Investing in a high-quality sealant or calling for a professional gutter repair in Morrisville today can prevent thousands of dollars in foundation stabilization and landscaping repairs down the road.
How to Spot a Leaking Gutter
Before you can fix a leak, you have to find its exact source. While some leaks are obvious, others are subtle and only show up under specific conditions.
Look for these common warning signs:
- “Tiger Stripes”: Dark, vertical streaks on the exterior face of your gutters. These lines indicate where dirty water has been consistently overflowing or escaping through a failing joint.
- Standing Water: Pools of water remaining in the troughs days after a storm. This points to a clog or an improper slope that forces water to sit and degrade your seam sealants.
- Sash and Fascia Rot: Soft, rotting wood or peeling paint on the boards directly behind your gutters.
- Erosion Patches: Divots in the dirt, ruined mulch, or puddles directly beneath a gutter seam or corner miter.
Choosing the Right Tools and Materials
A successful repair starts with having the right equipment. Using the wrong sealant is the number one reason DIY gutter repairs fail within a single season.
- Stiff Wire Brush & Putty Knife
- Purpose: Surface preparation
- Why It Matters: Removes old, degraded caulk, rust, and debris so the new sealant can stick.
- Tri-Polymer or Silicone Sealant
- Purpose: Waterproof barrier
- Why It Matters: Remains highly flexible during extreme freeze-thaw cycles without cracking.
- Caulk Gun
- Purpose: Precision application
- Why It Matters: Allows you to apply a smooth, consistent bead along the inner seams.
- Waterproof Tape / Metal Patch
- Purpose: Reinforcement
- Why It Matters: Covers larger rust holes and reinforces high-stress joint connections.
- Ladder Stabilizer (Standoff)
- Purpose: Safety & protection
- Why It Matters: Keeps the ladder’s weight on the roof or siding, preventing crushed gutters.
How to Repair a Leaky Gutter: A Step-by-Step Guide
Sealing your gutter seams requires a methodical approach to guarantee a long-lasting, waterproof barrier. Always work on a dry, mild day, extreme cold or high heat can prevent your sealant from curing properly.
Clean the surface thoroughly
Use a wire brush and putty knife to scrape away all dirt, loose rust, and old, peeling caulk. Once clean, wipe the metal down with rubbing alcohol to remove invisible oils. The metal must be 100% dry and clean for the sealant to bond.
Apply the sealant on the inside
Load your tri-polymer or silicone sealant into the caulk gun. Generously apply the material on the inside of the channel across the overlapping joint. Applying it to the inside allows water pressure to push the sealant tighter into the seam.
Smooth the bead and remove air
Use your putty knife or a gloved finger to press the wet sealant firmly into the seam, smoothing out any air bubbles or gaps. Make sure the edges of the sealant lay completely flat so they don’t catch sliding leaves and debris later.
Allow to cure and test
Let the sealant cure completely without any moisture exposure (check your local weather forecast first!). Once cured, run a garden hose in the gutter to test your work and confirm that the leak is fully resolved.
Repairing Sagging Gutters and Adjusting Pitch
Sometimes a “leak” is actually just water overflowing because the gutter has lost its proper downward slope. To drain effectively, gutters should drop approximately 1/4 inch for every 10 feet of run toward the downspouts.
If water pools in the middle of a run, the system is sagging. This extra weight puts immense structural stress on your hangers and accelerates the breakdown of your seam seals. To fix this, replace bent or loose hangers with modern, heavy-duty hidden hangers. These screw directly through the gutter and into your fascia board, providing vastly superior support compared to old-fashioned spikes and ferrules.
Upgrading to Seamless Gutters: The Ultimate Solution
If you find yourself climbing a ladder to patch leaking seams and corner miters every single year, it may be time to consider an upgrade. Traditional sectional gutters have dozens of joints that naturally expand and contract with seasonal temperature changes, making leaks inevitable.
Seamless gutters eliminate this vulnerability entirely. Extruded on-site from a single piece of heavy-gauge aluminum, seamless systems are custom-fit to the exact dimensions of your home.
By eliminating the straight-run seams, you reduce your system’s potential failure points by over 80%. If you are tired of constant patching, investing in a professional gutter installation in Montgomery County, PA provides a lifetime of worry-free performance, enhances your curb appeal, and increases your home’s overall resale value.
Keep Your Gutters Performing Year-Round
The key to avoiding major water damage is consistent preventative care.
- Clear debris twice a year: Clean your gutters in the spring and late autumn to prevent standing water and heavy clogs.
- Inspect after severe storms: Take a quick walk around your home during heavy rains to check for overflows, sagging sections, or leaking joints.
- Secure proper downspout discharge: Keep your downspouts clear and make sure they discharge water at least five to ten feet away from your foundation to prevent soil erosion.
Safety Warning: Never lean your ladder directly against the aluminum gutter channels while performing repairs. Your body weight can easily crush the thin metal, creating entirely new structural damage. Always use a ladder standoff stabilizer to distribute the weight safely onto your roof or siding.
Protect Your Home with Kontz Construction
Working on ladders can be dangerous, and diagnosing tricky leaks at high rooflines is often best left to the experts. If you are dealing with recurring gutter leaks, sagging channels, or outdated drainage systems, Kontz Construction is here to help. Our fully licensed and insured exterior professionals bring the tools, safety equipment, and craftsmanship needed to keep your home safe, dry, and protected.
Contact Kontz Construction today to schedule a professional gutter consultation or receive a free estimate!