
The Complete Guide to Window Replacement: Enhancing Your Home’s Performance
April 13, 2026
Have you ever wondered why some homes feel drafty even when the thermostat is turned up, or why utility bills seem to spike during the humid summer months? Often, the culprit is not the HVAC system, but aging, inefficient windows. Many homeowners face a confusing situation when deciding between a quick fix and an in-depth home improvement project. You might naturally assume that a standard frame-in-frame replacement is always the best path for your property. However, the installation process for true window replacement requires specific techniques that differ significantly from new construction projects.
At Kontz Construction, we understand that replacing a window isn’t just about the glass; it’s about restoring the integrity of your home’s building envelope. Before any physical installation begins, a complete site evaluation must be completed to make sure the surrounding wall structure is stable enough to support high-performance glazing units. We will break down exactly how to navigate a professional window replacement effectively, guaranteeing you adhere to the highest standards of energy efficiency and structural safety.
Choosing the right materials ultimately dictates the long-term success of your renovation. Homeowners often purchase incorrect units because they misunderstand the complex architectural terminology involved in modern window technology. A successful project requires extensive planning and a clear understanding of local structural requirements. The integration of the window unit into the existing siding and flashing is the most critical phase for preventing future structural rot. We will guide you step-by-step through the professional installation methods used by top contractors for a smooth transition.
When you begin the process of replacing windows, you must first evaluate the existing structural integrity of the rough opening. This involves checking for any signs of rot or insect damage that could compromise the new vinyl or wood unit. Proper preparation makes sure that the new window sits securely, preventing future air leaks or water intrusion. Modern energy codes require a much tighter seal than the standards used when your home was originally built, making precision more important than ever. By following these professional standards, you can achieve a high-quality result that adds lasting value to your residential property.
Strategic Window Installation: Full-Frame vs. Insert Replacement
Before buying materials, you need to understand the main differences between the two primary methods of replacement. Choosing the wrong method for your specific home condition can lead to recurring leaks or diminished aesthetic appeal.
Insert Window Replacement (Pocket Installation)
Standard insert replacement windows are designed to slide directly into an existing window frame. This method is popular because it doesn’t disturb the surrounding exterior siding or interior trim. It is an excellent choice if your existing frames are structurally sound, square, and free of rot. However, because the new window is essentially a “box within a box,” the total glass area is slightly reduced.
Full-Frame Window Replacement
A full-frame window installation in Montgomery County involves removing the entire existing window, including the frame and the brick mold. This allows the installers at Kontz Construction to inspect the hidden rough opening for water damage. This method is necessary if the original frame is rotted or if you want to change the size or shape of the window. Whether you are installing double-hung units or large bow windows, the full-frame method provides the best opportunity to update the flashing and insulation around the unit.
Understanding these distinctions prevents costly ordering errors that can stall a project timeline for weeks. If you want to use an insert window, you must be certain the old frame can support it. Some homeowners prefer the full-frame approach because it provides superior weatherproofing and durability by allowing for a complete seal against the home’s original sheathing. This is particularly common when matching a new patio door to existing architectural styles in a modern home. Making sure that your patio door and windows share a consistent profile is essential for maintaining the home’s aesthetic and market value.
You must plan your installation approach carefully before disturbing the exterior building envelope. Proper site preparation prevents severe water damage and expensive structural issues down the road. A successful window install requires precise measurements and high-quality flexible flashing materials. At Kontz Construction, our expertise guarantees that every unit is integrated perfectly within the designated spaces. Our professional tools and experience reduce human error and guarantee that the dimensions are perfectly calculated for the specific unit.
Essential Tools and Materials for a Professional Replacement Project
Professional results require the right equipment and premium materials on your site. You should gather all your necessary supplies before removing the old window and exposing the building’s interior. Leaving a rough opening exposed to the weather invites moisture problems and wood rot. You will need a high-quality caulking gun and premium exterior-grade polyurethane sealant. Additionally, having plenty of low-expansion spray foam on hand is essential for insulating the gaps around the window frame without bowing the vinyl.
Your essential window replacement toolkit should include several specific items:
- A reliable bubble level and long measuring tape for three-point accuracy
- Exterior-grade polyurethane or silicone sealant for long-term weatherproofing
- High-quality flexible flashing tape and durable shims
- Corrosion-resistant installation screws specific to the window material
- Low-expansion spray foam to fill the cavity between the frame and studs
Do not compromise on the quality of your flashing tape or exterior sealants. Cheap adhesive tapes lose their stickiness when exposed to extreme seasonal temperature fluctuations. Premium materials cost slightly more upfront but prevent devastating interior water damage later. You should store your materials in a dry place until the moment of installation. If your project involves removing old wood windows, make sure you have the proper pry bars and safety gear to handle lead paint or broken glass safely. Proper application of these sealants allows the home to maintain its thermal integrity.
The Professional Installation Process: Preparing the Opening
A common mistake in DIY window replacement is rushing the preparation phase. At Kontz Construction, we prioritize a “measure thrice, cut once” philosophy to guarantee the home remains protected throughout the transition.
1. Inspect the Structural Integrity
Once the old sashes or frame are removed, check the rough opening to confirm it is completely square, level, and plumb. Verify that the header is properly supported and that the framing shows no signs of moisture damage. If rot is found, it must be replaced before the new window is set.
2. Apply the Flashing and Weather Barrier
In a full-frame replacement, you must restore the weather barrier. This involves cutting the existing house wrap properly to create a secure exterior seal. A “modified I-cut” allows for the wrap to be folded into the opening, providing a base for the flashing tape.
3. Install the Sill Pan
Apply a sloped sill pan or flexible flashing tape across the bottom of the rough opening to direct any potential moisture outward. This critical step prevents water from pooling on the wooden sill; the number one cause of window-related structural decay.
Advanced Techniques for Flashing Integration and Thermal Sealing
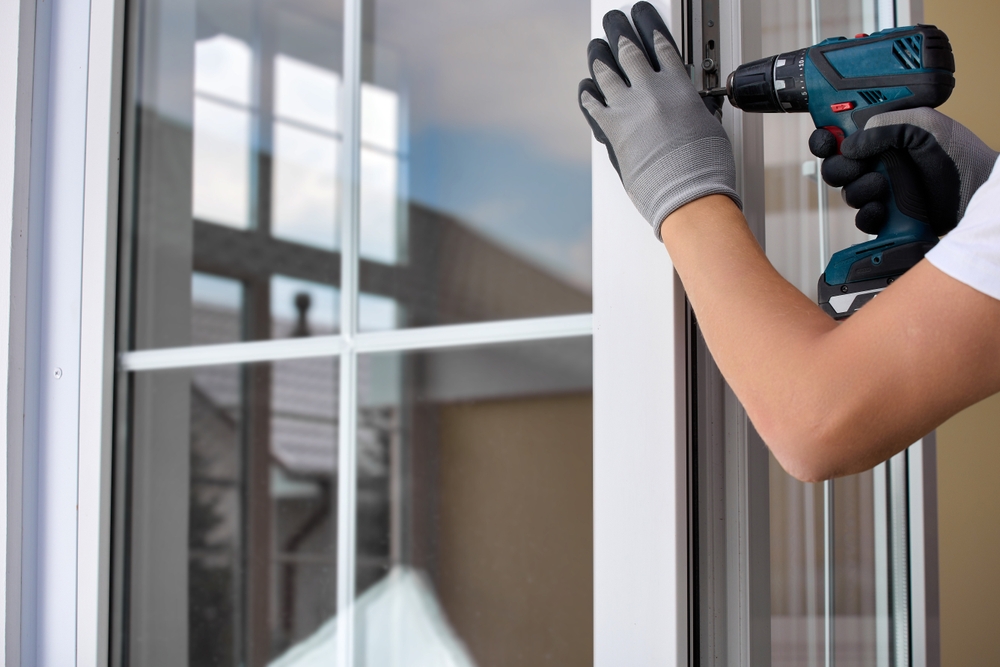
Once the opening is prepared, you must focus on the integration of the window unit with the exterior drainage plane. For full-frame replacements, this typically involves overlapping the house wrap with the window’s exterior casing or fins. However, when using an insert window, you rely on high-performance sealants and backer rods to bridge the gap. This step is vital for maintaining the thermal performance of your home and preventing drafts. Always double-check that your window is centered within the opening before driving any fasteners. A properly centered window allows for even expansion and contraction during the intense temperature shifts seen in our local climate.
Shimming is another critical aspect of the process for window installation in Fairless Hills that is frequently overlooked. You should place shims at the corners and near the hardware to make sure the window operates smoothly without binding. For double-hung windows, check that both sashes move freely and lock securely after the shims are in place. If you are installing bow windows, the shimming process becomes even more complex due to the multiple angles and weight distribution involved. Take your time to get the leveling right, as this affects the long-term durability of the unit. Improper shimming can lead to frame warping, seal failure, and air infiltration over time.
After the window is mechanically fastened, the final sealing process begins with the application of spray foam. Use a low-expansion foam specifically designed for windows and doors to avoid bowing the frame. Once the foam has cured, apply a high-quality exterior sealant around the perimeter to provide a secondary line of defense against driving rain. This in-depth approach makes sure that your window replacement meets modern building codes and energy efficiency standards.
Remember to clean the glass and frame thoroughly once the project is complete. This isn’t just for aesthetics; a clean installation allows you to inspect for any minor manufacturing defects or seal issues. Contact us today for a team that values precision, uses only premium materials, and stands behind every installation. Whether you’re looking to lower your energy bills or simply enhance your home’s curb appeal, a professional window replacement is one of the most effective upgrades you can make to your residence.